7 Easy Tips For The Best Oat Flour Bread Recipe With Yeast
Looking for the absolute best oat flour bread recipe with yeast that actually rises and tastes amazing? This foolproof oat flour bread recipe with yeast is about to become your new favorite baking staple.

There is nothing quite like the smell of fresh bread baking in the kitchen, but working with alternative flours can feel incredibly intimidating. If you’ve ever tried baking with oat flour before, you know it can easily turn out dense, crumbly, or flat if the balance isn’t exactly right.
After tons of testing, I finally cracked the code on a light, pillowy loaf that holds its shape perfectly for sandwich slices or a slice of salted butter. Whether you are completely new to baking with yeast or just looking for a delicious, wholesome twist on a classic white loaf, these simple tips will give you a perfect bake every single time.
This post is all about the ultimate oat flour bread recipe with yeast.
7 Best Oat Flour Bread Recipe With Yeast Tips

Baking a perfect loaf of bread is an absolute art, but things get a little tricky when you introduce alternative flours. Because working with oat flour bread is completely different than using regular wheat flour, it requires a few specific adjustments to get that flawless, bakery-quality rise.
Whether you are looking for a reliable oat flour bread recipe, trying to master an old fashioned oatmeal bread recipe, or wondering can you make bread with oat flour that actually tastes good, these 7 game-changing tips will ensure your loaf turns out light, fluffy, and perfectly structured every single time.
1. Use a Certified Fine-Ground Oat Flour
The texture of your flour makes or breaks your bread. If your flour is too coarse, your oatmeal flour bread will turn out incredibly dense and crumbly. For a pillowy texture that mimics traditional sandwich bread, look for a certified fine-ground flour, or blend your oats in a high-powered blender until they turn into a completely weightless, powdery dust.
2. Always Pair It With a High-Protein Flour
Here is a major baker’s secret: oat flour is naturally gluten-free. Because yeast needs gluten to trap gas bubbles and make the dough rise, a 100% flourless oatmeal bread recipe made with yeast will turn out completely flat. To get that gorgeous, tall rise, you must blend your oat flour with a high-protein flour like unbleached all-purpose flour or bread flour. A 50/50 split is usually the sweet spot for the best oatmeal bread recipe texture.
3. Don’t Skip the Yeast Activation
Yeast is a living organism, and it needs the perfect environment to wake up. Make sure the water or milk you use to dissolve your yeast is warm, ideally between 105°F and 115°F. If it’s too cold, the yeast won’t activate; if it’s too hot, you’ll kill it completely. Adding a teaspoon of dark brown sugar or honey to the warm liquid gives the yeast something to feed on right away, creating a beautiful, frothy foam. This is essential for any oat flour bread with yeast to rise properly.
4. Incorporate a Hybrid Fat Blend
Oats naturally absorb a lot of moisture, which can sometimes leave baked goods tasting a little dry the next day. To prevent this, use a combination of melted butter and neutral oil in your dough. The melted butter provides a rich flavor, while the neutral oil in your bread with oat flour recipe results in incredibly soft bread for days on end.
5. The Single-Rise Method
Unlike traditional white bread doughs that require a long double-rise, an oatmeal flour bread recipe dough handles best with quicker proofing. Once you mix your dough and place it into your lined loaf pan, let it rise just once in a warm, draft-free spot for about 30 to 45 minutes. You want it to rise just until it reaches the rim of the pan before popping it straight into the hot oven.
6. Use the High-Heat Steam Trick for Domes
If you want that dramatic, beautiful bakery dome on top of your oat bread recipe, start your oven hot. Preheating your oven to a higher temperature (like 425°F) for the first 5 minutes triggers a rapid steam release inside the dough, forcing it to spring upward quickly. Then, without opening the oven door, drop the temperature down to 350°F to let the interior bake through gently without drying out.
7. Let It Cool Completely Before Slicing

I know it is incredibly tempting to slice into a warm loaf of fresh bread right out of the oven, but don’t do it! Bread actually finishes setting its interior structure as it cools. If you cut into your oat flour bread recipe loaf while it’s still piping hot, the steam will escape instantly, and the center can collapse into a gummy texture. Give it at least an hour on a wire cooling rack first!
Simple Tips for Storing Your Loaf

Because of the high moisture absorption of oats, keeping your oatmeal bread fresh is all about managing humidity.
Store your completely cooled bread in an airtight container or a bread box for up to 4 days. Place a clean paper towel inside the container to absorb any trapped moisture so the crust doesn’t get soggy.
Slice the loaf completely before freezing it! Wrap the individual slices tightly and freeze them for up to 2 months. That way, you can easily pull out a single slice and pop it straight into the toaster for a quick morning breakfast.
This post was all about the ultimate oat flour bread recipe with yeast.

Ingredients
- 1 ½ cups (135g) old-fashioned rolled oats
- 1 ½ cups (360g) Full-fat buttermilk , warmed to 110°F / 43°C
- ¼ cup (60g) Warm water
- 1 packet (2 ¼ tsp) Active dry yeast
- 3 tbsp Pure honey
- 3 cups (360g) All-purpose flour
- 4 tbsp (½ stick) Unsalted butter , completely melted
- 2 tsp Fine sea salt
Instructions
- In your main mixing bowl, pour the warm buttermilk directly over your old-fashioned rolled oats. Stir it together quickly and let it sit on your counter for 15 minutes. This creates a creamy oat porridge base that completely hydrates the oats and guarantees your oat flour bread won't turn out dry or crumbly.
- While your oats are soaking, stir your warm water, honey, and active dry yeast together in a small measuring cup. Let it sit undisturbed on your counter for 5 to 7 minutes until it develops a thick, frothy foam on top. If it doesn't foam, your yeast might be expired, and you'll want to start over with a fresh packet!
- Pour your frothy yeast mixture, the melted butter, and 2 cups of the all-purpose flour directly into your soaked oat bowl. Stir everything together with a heavy wooden spoon until a sticky, shaggy dough forms. Add the fine sea salt and the remaining 1 cup of flour, then turn the dough out onto a lightly floured surface.
- Knead the dough firmly by hand for 8 to 10 minutes (or 5 to 6 minutes on medium-low speed if you are using a stand mixer fitted with a dough hook). Because of the real oats, the dough will start out feeling quite tacky. Keep going! As you knead, the gluten develops and it will transform into a smooth, springy, velvet-like ball.
- Place your smooth dough into a lightly oiled bowl, turning it over once to coat the top so it doesn't dry out. Cover the bowl with a damp kitchen towel and let it rise in a warm, draft-free spot for 1 hour to 1 hour and 15 minutes, or until it has completely doubled in size.
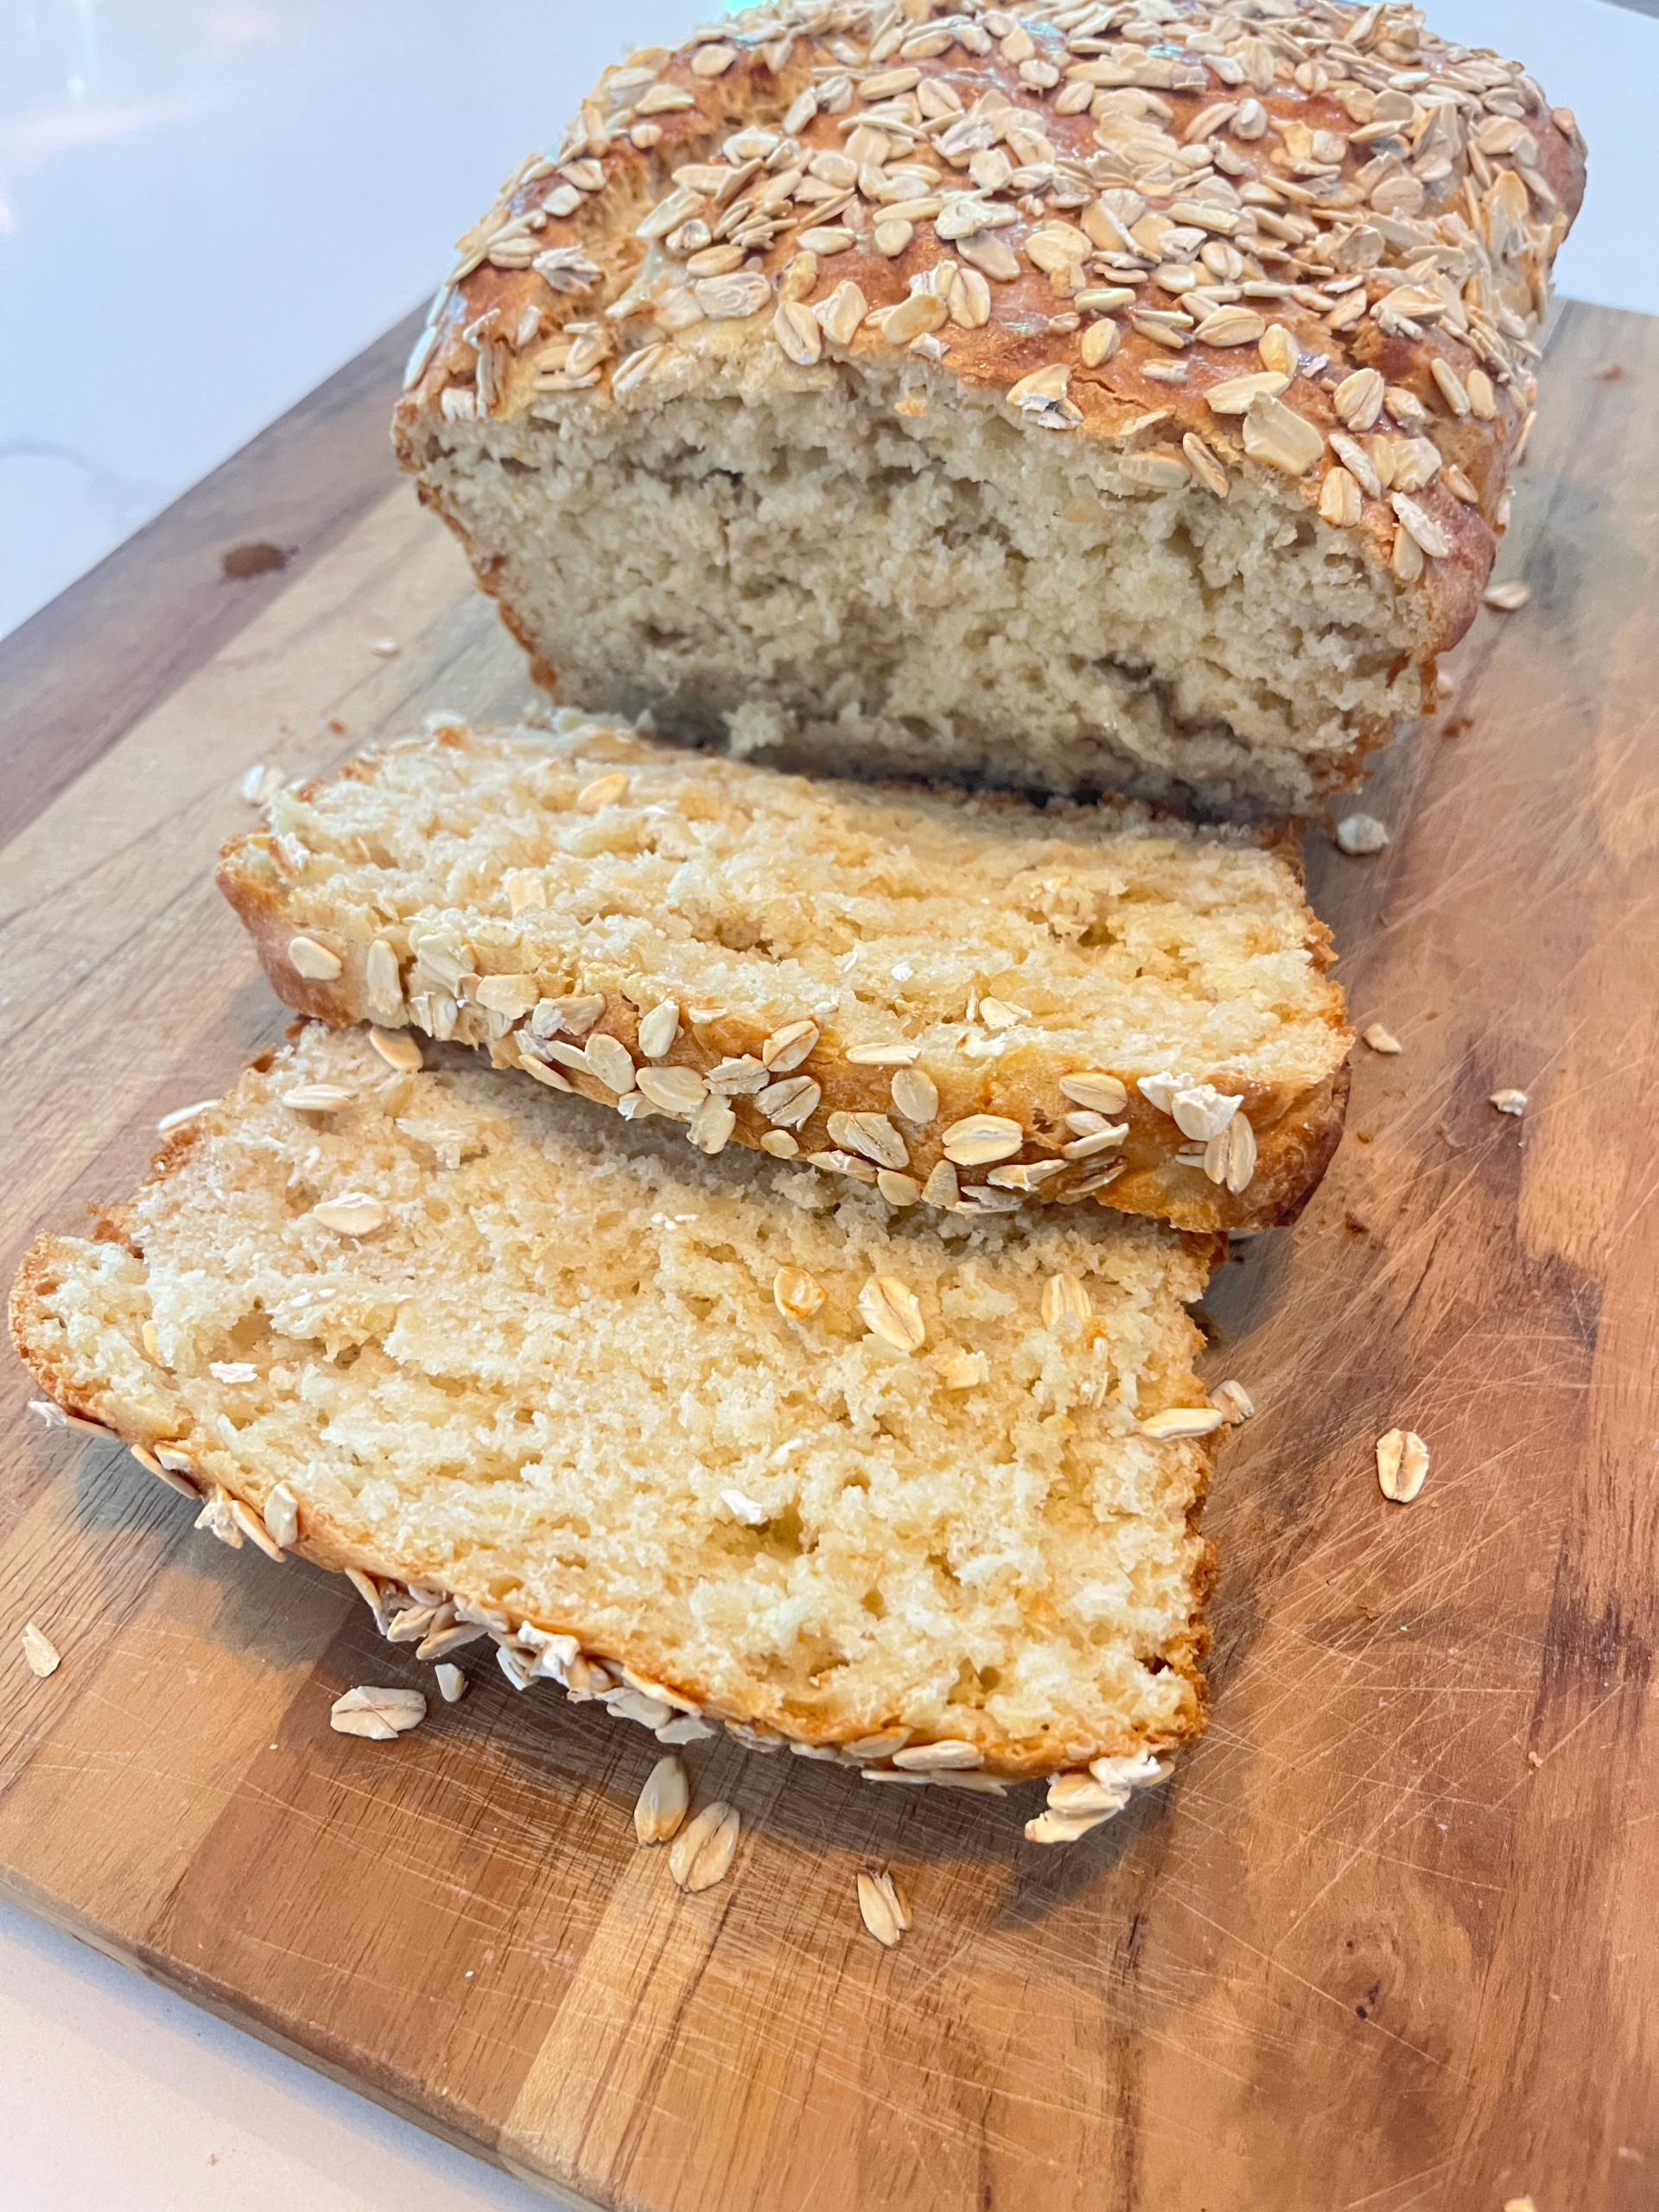
- Gently press the air out of your risen dough and shape it into a tight, even 9-inch log. Place it into a greased 9×5-inch loaf pan. Brush the top of the loaf lightly with a little water, and press a generous handful of raw rolled oats across the top crust. Cover it lightly and let it rise for about 45 minutes until it crowns beautifully over the rim of the pan.
- Preheat your oven to 375°F (190°C). Slide your loaf pan onto the center rack and immediately drop the oven temperature down to 350°F (177°C). Bake for 38 to 42 minutes. Your decorative oats on top will turn toasty brown, and the bottom of the loaf should sound completely hollow when tapped out of the pan. Let your oatmeal bread cool fully on a wire rack before slicing!
